Conditional Workflows allows EdSmart users to assign pre-determined Approval Workflows to Form Templates for further automation. The Approver will automatically be selected based on the option selected by the Form Creator (The user submitting the form).
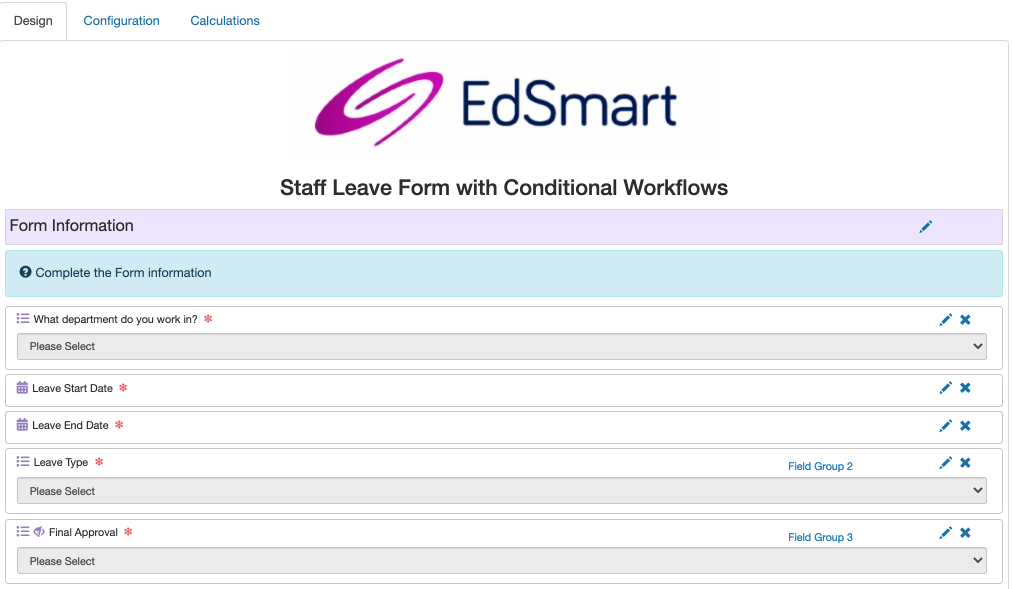
For the purposes of this article, we will use the example of a Staff Leave Form to explain the functionality behind Conditional Workflow.
Setting up the Form Template Workflow:
To set up the new workflow, the Template Creator will need to edit the Approve Slip step.
There are now three different types of Approvals to select from but the type used for Conditional Workflows will be Triggered from Form Fields
Then Select the Options List Field you would like to set up the Conditional Workflow e.g. What Department do you work in?
The Option List field will have multiple options to select from e.g. Admin, HR, Sports, Teaching, Head of Departments.
Assign as many Approvers as you wish for each option by searching in the User/User Groups Field below. e.g. Select Admin then select Head of Admin, Select HR then Select Head of HR, rinse and repeat for all departments (there is no limit on how many users / user groups you can add).
Select Update Step to save the changes.
Based on the option selected by the Form Creator the Form will be directed to the appropriate approver.
Let’s take a look at the Form Creator experience:
Start the School Form.
Fill in the Form.
Send the Form for Approval.
The form will automatically assign an Approver based on the Conditional Workflow setup during Form Template creation.